
Biome is a 3D-roguelike prototype made in C# with Unity, done as a school project over a semester. I worked on the procedural terrain and objects generation. On this page you will find some details on this part.
You can check the source code here.
Introduction
You can take a look at this presentation video realised at the end of the project.
We were a team of five students on this project. We divided the work in three parts : the gameplay and enemies, which was done by two of us, the user interface and the project lead, taken by the student who had the idea for this project, and the environment generation, which we were two to do.
The objectives were to dispose of a tool that would enable game designers to design maps for the game Biome. We decided to keep it as configurable as we could. However, some decisions were made and fixed. We wanted the world to be composed of several ring shaped regions called biomes.
The objectives were :- have a big map
- have configurable biome numbers
- have configurable relief for each biome
- enable dynamic relief modification
- lessen the impact of the generation on the framerate
Coordinates system and initial generation
Since the world was going to be circular, I thought it would be interesting to use a hexagonal shaped grid instead of a traditional square grid, in order to smooth the generation. Lots of thanks to Amit Patel and his Hexagonal grid reference which made this a lot easier.
We then decided to cut the terrain in tiles. Those tiles would have configurable sizes, both concerning the hexagons size and the tile radius, as you can see in the figure. This makes it possible to change those parameters to generate a smaller or bigger map with different costs.
During the development, when facing a bug we often tried several tile radii in order to identify it, but we usually sticked at the value 17, except one of us who had difficulties running it on his computer, and used a smaller value.
You might see it on the figure, the hexagons are not exactly regular. In order to ease some computations, I made them a bit higher. Thinking about it some time later, I reckon this might have caused some problems we faced during the development.
We then assembled those tiles in order to create the terrain, whose starting area is generated in the following order :
- The center tile (on which the player begins)
- All tiles of the first ring of tiles, turning counter-clockwise
- Then the next ring, until a target ring is reached
The number of rings generated for the starting area is configurable.
The relief of the terrain is determined through a Perlin Noise. Each hexagon has a height, which is computed through mixing Perlin Noises.
Using Perlin Noise makes points that are spatially close have similar heights. This was perfect, since we wanted a terrain with moderate local height variations.
Each corner of the hexagon is then attributed the mean of the three surrounding hexagons.
You can see an example on the figure (the values here are arbitrary and were not computed from a real Perlin Noise).
Since we only need the hexagon height value of the neighbors before creating the 3D model of one tile, we first generate all neighbor tile hexagon heights, then calculate each points height for the 3D model. I will describe this a bit more when talking about object generation.
During the game, when the player moves, the position is tracked in order to load only the tiles that are close to this position. When the player goes to a place where tiles were not generated, those are generated as the games asks to load them. With this system, we were able to have a big map, that is only loaded locally and that does not need too much time to build before the game starts.
Object Generation
Once we had a terrain, we wanted to place some objects on it. We divided objects into two categories : small objects (trees, bushes, rocks, columns, etc) that can be placed quite anywhere, and big objects (buildings, bigger rocks, ruins, etc) that need a flat terrain underneath.
Concerning big objects, we thought it would be quite difficult to look for a flat space on the map, so we decided we would flatten the terrain before placing the object. We thus placed the object generation step between the hexagon height attribution, and the 3D model construction, in order to be able to modify existing height before creating the model. However, one object could be placed near the border of a tile, and thus need to alter the neighbor tiles height data, and placing space occupation indicators on them (we used it to prevent objects from spawning too close to each other).
IIn same idea, one tile could place an object close to its neighbour located on a ring closer to the center during the initial generation. The generation order was thus altered as such :
- Attribute height to the center tile (which can be considered as ring zero)
- Attribute height to the first ring
- Attribute object location on the center tile
- Attribute height to the next ring
- Attribute object location of the current ring
- Compute 3D model of previous ring
- Switch to the next ring and repeat from step 4
Each step for each ring is still done on every tile, as shown before. With this method, we leave some rings with only height attributions, that will have their objects and 3D model generated as the player comes close.
See how there always will be a two tiles thick crown partially generated around the fully generated area.
With those modifications, we made it possible to implement dynamic modification of the terrain, but we did not use it. A great application would be to adapt the terrain depending on how the player behaves, and how difficult the game is, in a similar way as the Gameplay/Ennemies team did for enemies.
Other stuff
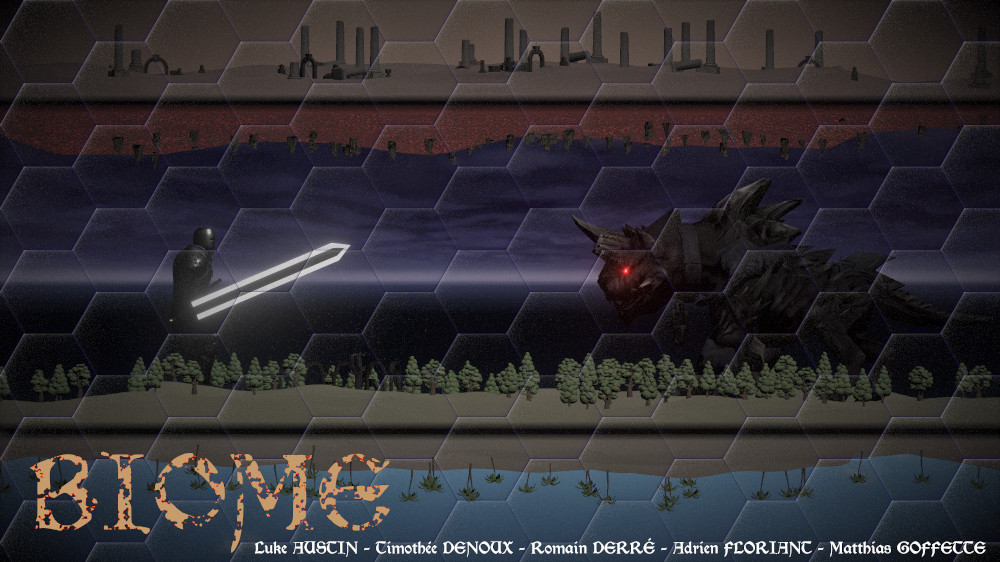
At the end of the project, we had some documents to create in order to present our project. There was an oral presentation (and its support), the presentation video, a poster, an image which represents the project, that you can see at the top of this page, a design document, a few situational short descriptions, and a build of the project (google drive links : windows, linux).
I made the video : we all captured clips of scenes we thought represented well our work on this project. One of us made the music. Then I assembled the clips and the music in a video, using Blender. I also made a part of the image : I assembled the screens a friend took of generated terrain (from an orthographic side view), assembled them, cleared artifacts due to the orthographic view, and smoothed the transitions between terrains. My firend then added the hexagonal mosaic effect and the texts.
You can see another member's own page for this project here.